- Cooking with children teaches practical life skills, builds confidence, and fosters shared memories learning.
- Cooking together for the holidays strengthens family bonds, preserves traditions, and creates meaningful connections across generations.
- Holiday recipes, whether time-honored or simple and kid-friendly, evoke comfort and continuity, helping turn celebrations into lasting traditions.
- Please consider subscribing and liking this post so that you are notified every time I post new content. I also have a TeachersPayTeachers store that you can connect to here and I regularly post on pinterest.
Ah, holiday cooking. Throughout history and across all cultures, people around the world have used food as a means of marking significant moments in time. Over the years, holiday meals have become important events that reinforce bonds and provide continuity across generations. Holiday meals often bring with them memories of family gatherings, loved ones, and younger days. The shared effort of cooking together as a family becomes part of the celebration, strengthening relationships and fostering intergenerational learning.
Many recipes associated with holidays have been passed down through generations. The familiar scent of a particular dish simmering on the stove or the first bite of a once-a-year dessert can instantly bring forth feelings of comfort, warmth, and family. Some holiday foods are labor-intensive and are made as a group to ease the burden and create bonding memories. However, this particular deviled egg recipe is quick and easy, making it the perfect time to get children involved in the holiday cooking tradition.
Ingredients
6 large eggs
1 Tbsp Mayonnaise
1 tsp mustard
1 tsp Dijon mustard
pepper to taste
paprika to taste
Steps – and How to Include the Children
Step 1: Boil the eggs.Let your children place the eggs in a pot and cover them with water. Or, if you have an electric egg boiler, allow your children to place the eggs inside and add the appropriate amount of water to get fully cooked yolks. For eggs to be boiled in a pot, it generally takes about 10 minutes of full boiling to get fully cooked yolks.


Step 2: Peel the eggs. Once the eggs are fully cooked, drain out the hot water and replace it with cold water. Let the eggs sit for about 3 minutes so that they can cool off. You want the eggs to still be warm for an easier peel but not so hot that they burn your hands. Let your children help with the peeling, even if the eggs turn out a little rough around the edges. It gives them practice and lets them feel like they are helping.
Step 3: Cut and separate the eggs. Have an older child (or yourself) cut each egg in half lengthwise and separate the yolk into a bowl. Make sure to give clear instructions and support if your child is doing the cutting. If you are the one wielding the knife, let your child scoop out the yolk instead.


Step 4: Make filling. Add to the yolks the mayonnaise, mustard, Dijon mustard, and pepper. This is the perfect time to let little ones practice their measuring skills. Mix the ingredients well, making sure there are no large yolk clumps.
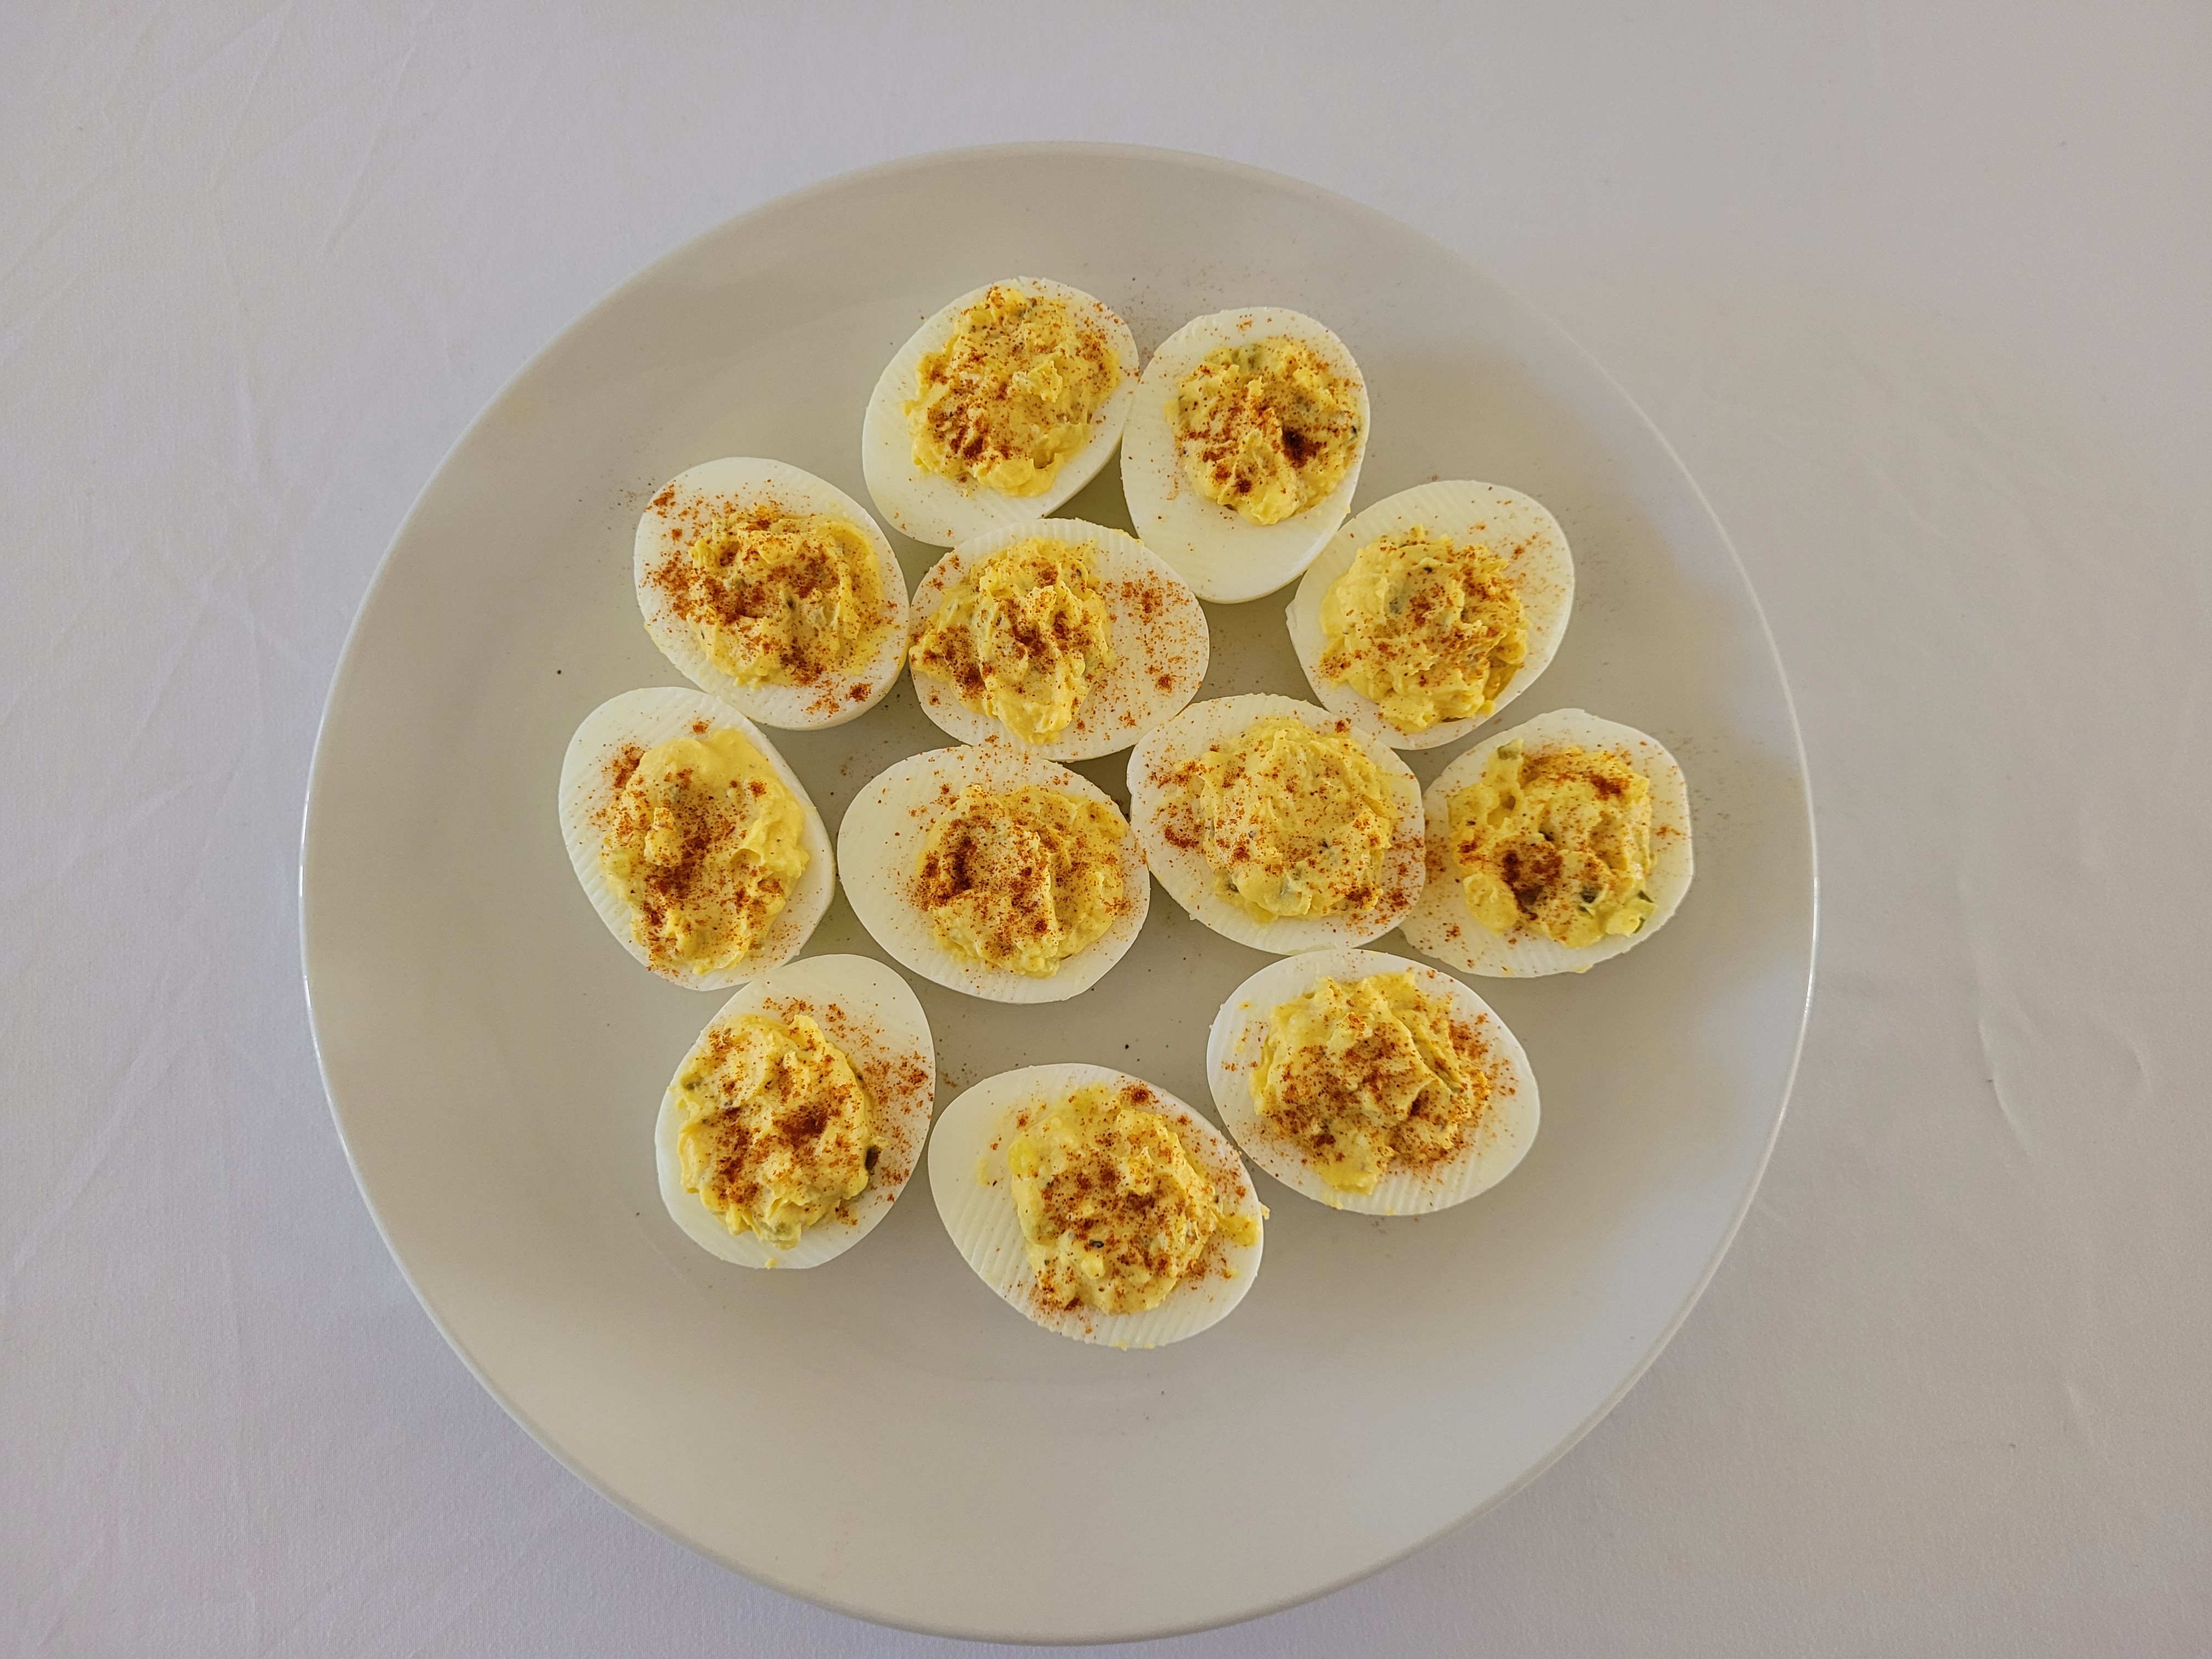
Step 5:Fill and garnish the eggs. Once the yolk mixture is to the consistency that you desire, take a spoonful at a time and place it in the indent left on the egg by the missing yolk. For fancier looking eggs, use an icing tip to fill the eggs. Kids love to help with this step, especially younger ones. After each egg half is filled, top off the mixture with a sprinkle of paprika. This again is a great step for kids to take over. However, you will want to manage the amount that they are sprinkling so as not to have a totally covered red egg.

Step 6: Enjoy! This is an easy step that the entire family will appreciate.
The Importance of Including Children in Cooking
Cooking with children offers a wide range of benefits that go beyond simply preparing meals. It provides a fun, hands-on way to teach valuable life skills such as measuring, following instructions, and kitchen safety. When you throw in holiday traditions, working together in the kitchen can strengthen family bonds and boost children’s confidence. Through these moments in the kitchen, knowledge, values, and stories are passed on in a living, participatory manner. Overall, it’s a rewarding activity that nurtures creativity, patience, and responsibility.
On top of lessons learned, cooking together with your family will create wonderful memories for all involved. Sharing food around the table transforms holiday celebrations from mere dates on a calendar into rich, meaningful connections. These moments also start traditions that will continue through your children’s childhood and into their adult lives.
If you are interested in recipe cards to use with your children, I have made a set of 54 3×5 inch cards. These are available on my TPT store. The set is split into 6 different categories: Baked Goods, Appetizers, Soups, Main Dishes, Side Dishes, and an empty customizable category. Each category has 3 different design options and includes an optional back side with additional lines to write on to be printed on each.

<– Here is a link to my Recipe Cards page on my TPT store.
I hope this cooking with kids recipe helps to create happy memories, make a delicious side dish, and provide useful lessons for everyone involved. If you found this blog helpful please consider subscribing to and liking this post as it will help to grow the community as well as let me know which type of posts are more beneficial for you. For delicious holiday dessert, try my Cooking with Kids: Oatmeal Cranberry Cookies blog.
Find us on Pinterest!

If you and your kids try this holiday favorite of ours, please let us know if you enjoyed it in the comments below.
Leave a Reply